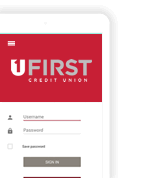
Business Online Banking
No matter where you are, we’re here too
With UFirst Online Business Banking, we're here to help manage the full spectrum of your business needs.
Privacy, Security, Flexibility, Convenience
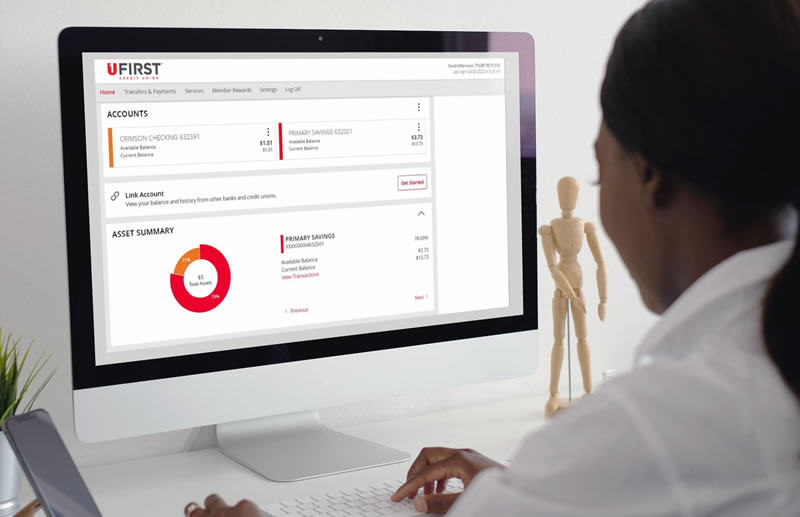
UFirst delivers cutting-edge business banking to all your devices, so you can manage your business finances wherever you are.
As your financial partner, UFirst puts your entire banking experience
right at your fingertips so you have the freedom and flexibility to manage your company's finances
where and when you want.
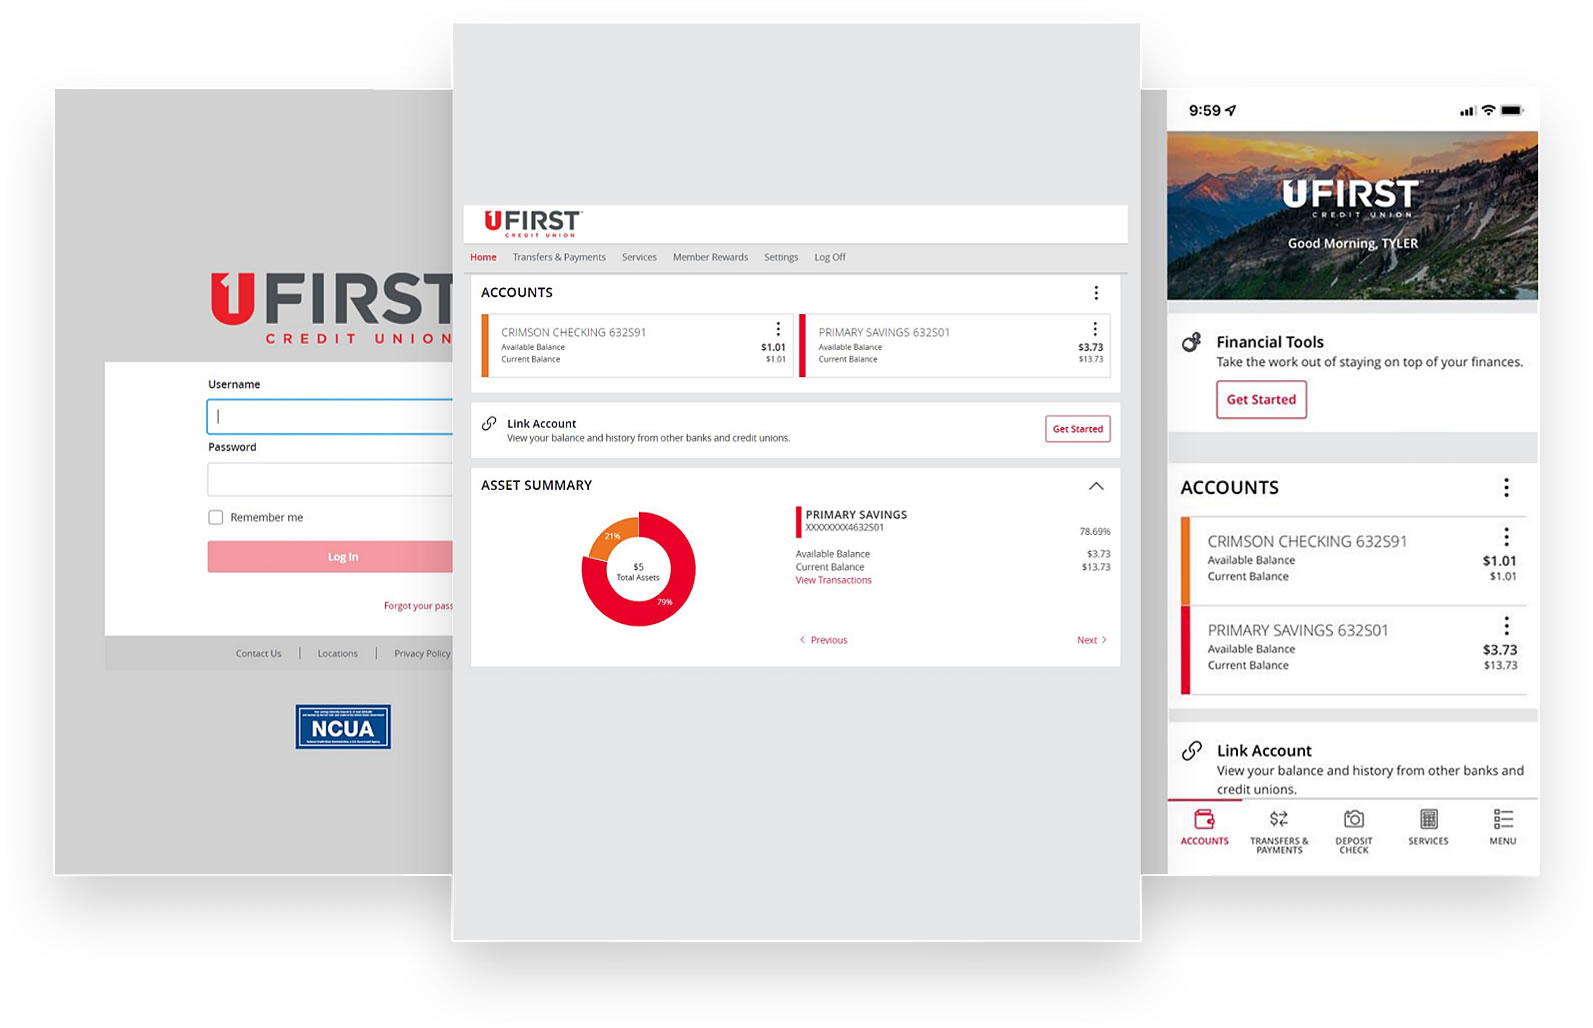
Better Business Online Banking
- Mobile Online Banking
- View account balances and transactions
- Transfer money between your accounts
Autobooks
Offers one integrated payment solution for invoicing, payments and account management
Mobile Check Deposit
Use your iPhone or Android phone to deposit checks into your account anytime, day or night.
Sign In Tutorial
Business Online Banking FAQs
We want you to have the best possible online banking experience. The following FAQs can help with common questions. You can also contact us via online chat or by phone at 801-481-8800.
How to update my contact information?
Updating your info is simple. Click “settings;” then, under “preferences” click “contact information,” then update and save your changes.
How to update my two-factor authorization?
Click “settings;” under “security,” select “2-factor authentication,” then update and save your changes.
Why do I need to register my device when I login to online banking?
As a security measure, each time you log in to our website, the system evaluates whether you are using the same computer and browser. If it appears you a logging in from a different device, the system will ask you to identify yourself using a verification email or text. After your device is registered, you shouldn’t need to provide a code again for that computer using that browser.
How do I change the information on an account tile?
To change your account tiles, go to “settings,” and select “account preferences.” Then select the account you wish to update and choose from the options available.
Why is QuickBooks not synchronizing properly?
Please call one of our representatives to see if we can help you troubleshoot the problem.
What is a subsidiary?
A subsidiary is an alternate company profile that you can use when you create a payment or template. They are used to differentiate payment origination information such as if you want a different business to appear to be sending the transaction or use a different tax ID.
Who can add a subsidiary?
You must have Manage subsidiary rights to create and edit a subsidiary.
How can I cancel an ACH transaction that has been Drafted, Approved, and is shown as Authorized??
You can cancel transactions by going to the “activity center” and selecting “drafted and authorized.” Transactions in the “processed” or “on hold” status are not possible to cancel. “Processed” status indicates that your transaction is enroute to the recipient and therefore cannot be cancelled. A transaction that is in “on hold” status is being reviewed for risk or fraud and cannot be cancelled in that stage.
How can I get the information back from an ACH batch payment that has timed out?
You should draft your transaction, even if you do not intend to request approval. You may need to log off and log in again, then cancel the transaction in the “activity center.” Copy the transaction, which will create a new transaction, then complete your work, and “draft and request approval” (or “approve” if you have approval rights).
How do I import a CVS file?
Under the “new payments” menu, there is the option for “payment from file” for every transaction type that has “draft” entitlements. These files can be NACHA formatted or CSV files. NACHA files must be balanced and have a single batch. The system provides an example CSV format and description in PDF. Be aware that Excel will often change values that are not formatted correctly. For example, an account number of 055861234 may be stored in Excel as 55861234. We recommend you use text columns to avoid this.
How can I add a recipient to a template?
To add recipients to a template, go to “manage recipient rights,” select “manage Recipients,” then “access to all recipients.” Click on the pencil icon and add the new recipients by selecting “show all" to see existing recipients or “new recipients” to add a new recipient.
How can I add a new recipient to an existing template but not save the recipient in the template?
Got to “corporate,” select “manage recipient features,” then select “commercial.” Use the pencil icon to add the new recipient by selecting “show all” to see existing recipients or “new recipients” to add a new recipient. Complete the template, but instead of saving it, “draft” or “approve” it (depending on your rights). The added recipient will not be saved as part of the template.